

Table of Contents
Introduction
Splunk is a platform that collects, indexes, and analyzes machine-generated data from various sources like applications, servers, network devices, and more. It excels in managing unstructured data and provides real-time insights that are invaluable for IT operations, security, and business analytics. If you want to learn how to install and configure Splunk Server, then you are in the right place.
Unlike other traditional monitoring tools that primarily focus on performance metrics, Splunk specializes in analyzing large amounts of machine data, making it easier to identify patterns, track down issues, and create visual reports.
Splunk can handle data from almost any source, which makes it flexible for use in various environments, from small businesses to large enterprises. To learn more, check out this Introduction to Splunk.
Splunk Versions Overview
Splunk offers different versions depending on your needs:
- Splunk Free: A basic version with limited features. It allows indexing up to 500MB of data per day without user authentication. It’s suitable for small, personal projects or learning purposes.
- Splunk Enterprise: The most widely used version, designed for large-scale deployments. It offers unlimited data indexing, robust security, role-based access control, distributed search, and clustering capabilities for businesses. It’s ideal for handling massive machine data in real-time.
- Splunk Cloud: A fully managed version of Splunk Enterprise hosted in the cloud. It provides all the features of Enterprise but without the need for on-premise infrastructure, allowing companies to scale as needed.
- Splunk Light: A simplified version aimed at small IT environments. It offers up to 20GB of daily indexing and comes with basic features for search, reporting, and alerting. However, it lacks advanced capabilities like clustering and multi-site scaling.
How Install and Configure Splunk Server
Configuring a Splunk Server allows you to begin collecting, searching, and analyzing data from your IT environment. Below is a step-by-step guide to installing and configuring Splunk Enterprise.
Downloading Splunk
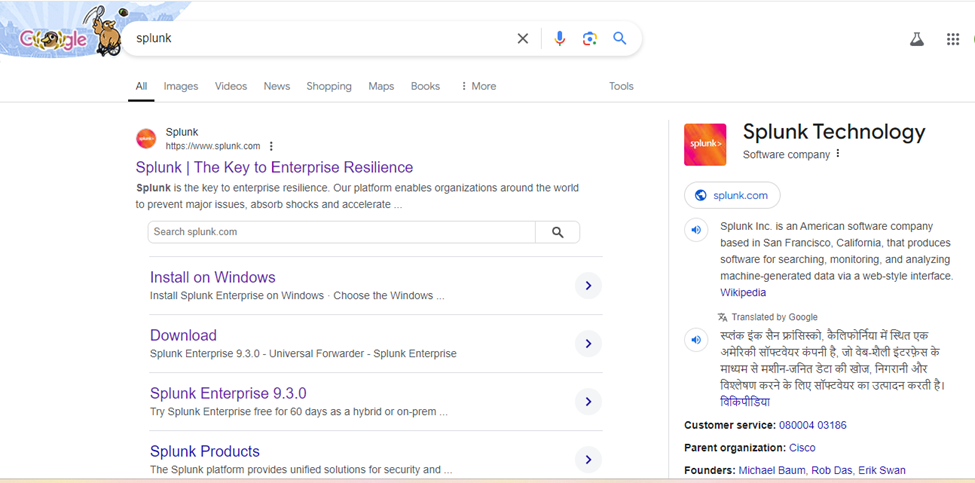
- Open your preferred web browser. Go to “google.com” and type “Splunk”
- Click on Splunk Product, which will direct you to the Splunk download page.
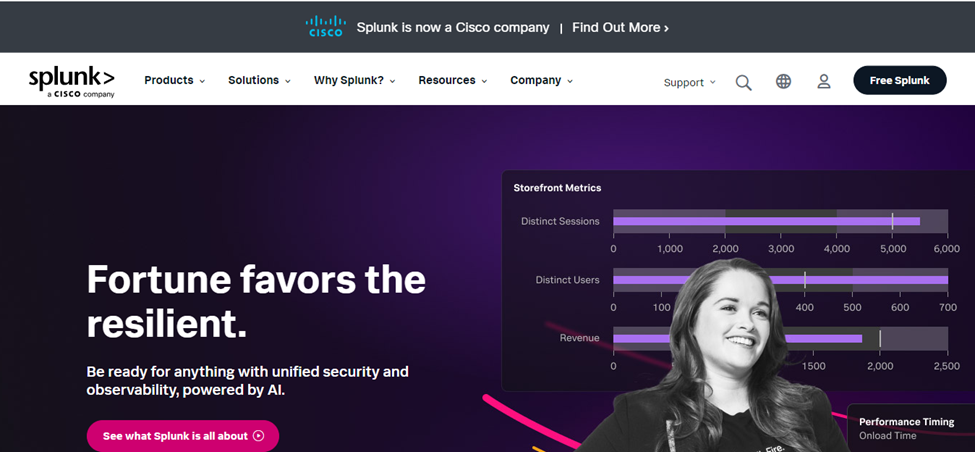
- Click on the “Free Splunk“, which will direct you to the Splunk download page.
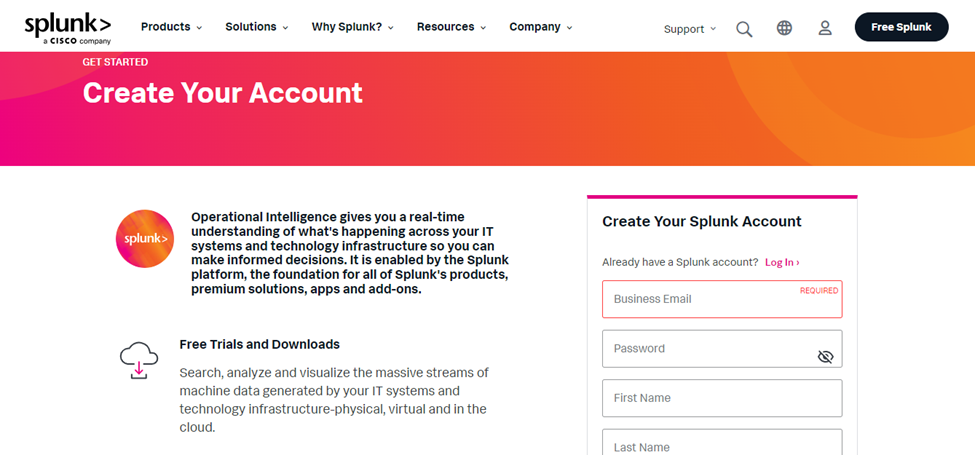
- It will ask you login or signup in Splunk, please sign up or login into the Splunk and click on “free Splunk”
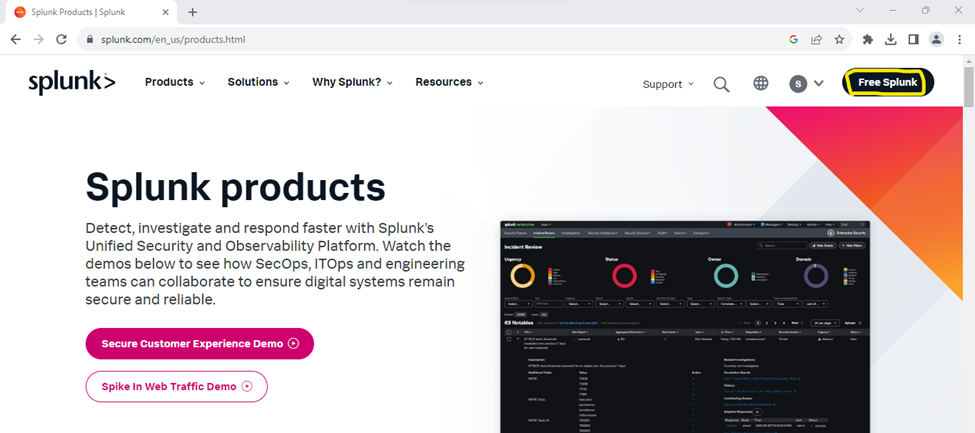
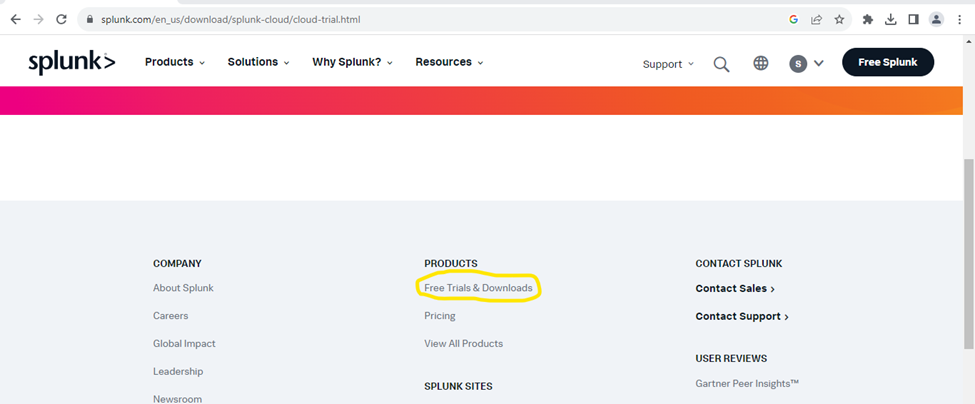
- Go to the product -> click on “Free Trail & Downloads”, as shows below;
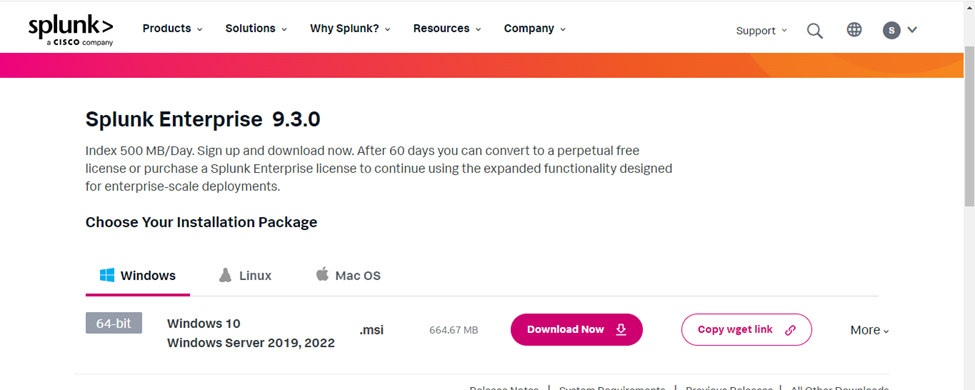
- Click on Get My Free Trial under Splunk Enterprise -> Click on “Download Now”, as shows below

How to Install and Configure Splunk Server
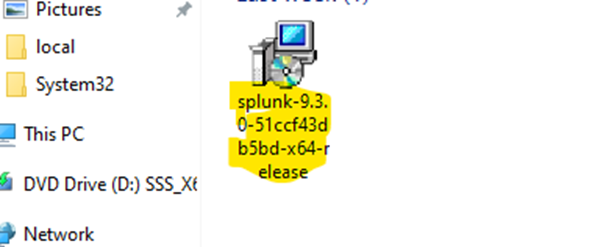
- Go to download folder and double click on Splunk MSI file “splunk-9.3.0-51ccf43db5bd-x64-release”
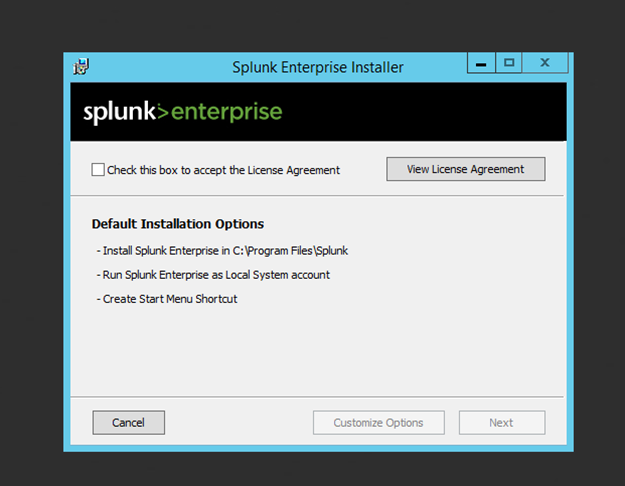
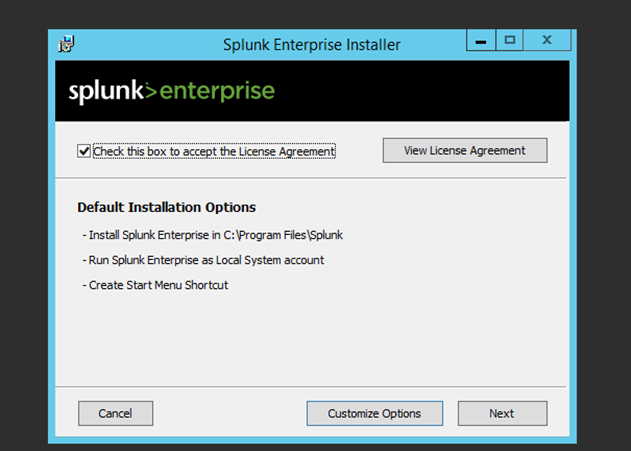
- New wizard will open, as shown below and Click on “Check this box to accept the license agreement” and click “Next”
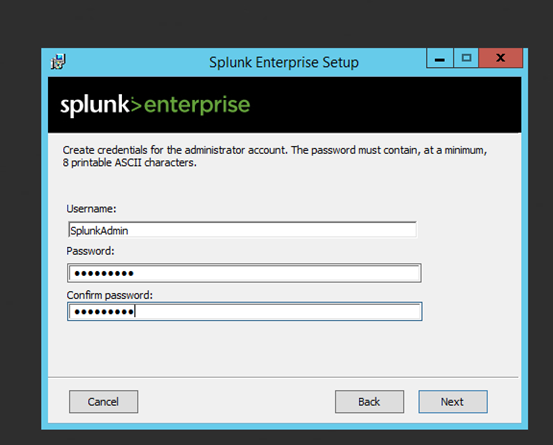
- Provide username and password which is use for login into the Splunk and click “Next”
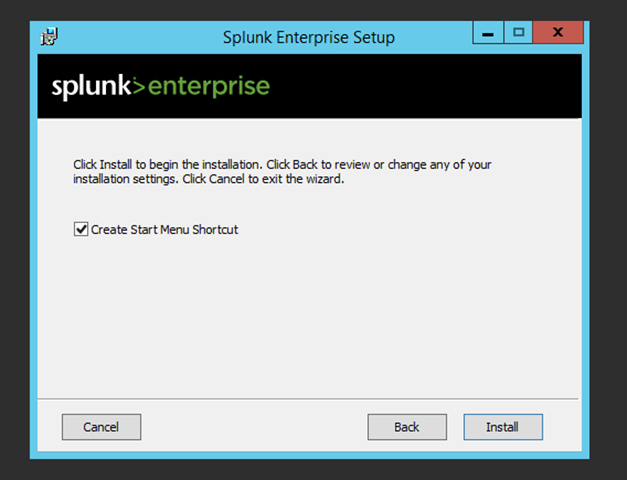
Click on “Install” as shown below
- Installation process is now start as shown below

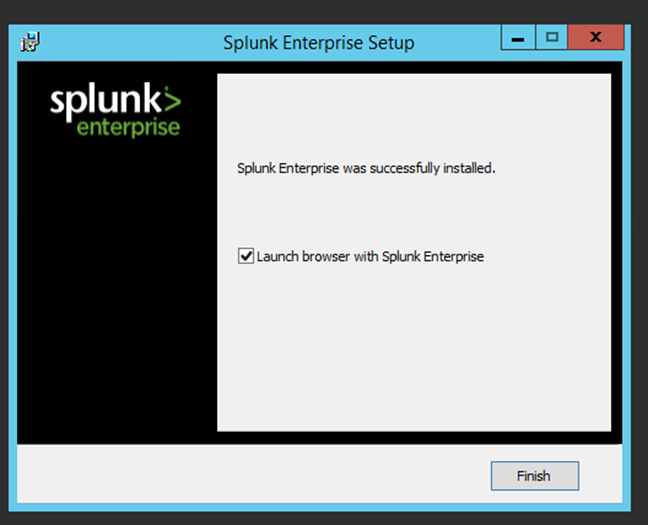
Post completion of installation click on “Finish”
Conclusion
Setting up and configuring a Splunk server is a straightforward process that unlocks powerful capabilities for monitoring and analyzing your machine-generated data. Whether you’re using Splunk for IT operations, security analytics, or business insights, the platform’s flexibility allows you to gather data from multiple sources and gain real-time visibility into your environment. By following the step-by-step installation guide, you can quickly start leveraging Splunk’s robust features to troubleshoot issues, detect anomalies, and create actionable reports. With the server properly configured, you’re now ready to explore the vast potential of data-driven decision-making with Splunk.